Download and install the package
1. Click for download, for a Lucid system or Precise system.

2. Save the package to a directory to which you have to access.
3. Go to the directory where you installed the package and run this command :
$ sudo dpkg -i cdh4-repository_1.0_all.deb

Install CHD4
1. Add a repository key & add the Cloudera Public GPG Key to your repository by executing the following command:
For Ubuntu Precise systems:
$ curl -s http://archive.cloudera.com/cdh4/ubuntu/precise/amd64/cdh/archive.key
| sudo apt-key add -

For Ubuntu Lucid systems:
$ curl -s http://archive.cloudera.com/cdh4/ubuntu/lucid/amd64/cdh/archive.key | sudo apt-key add -
2. Install Hadoop in pseudo-distributed mode:
$ sudo apt-get update $ sudo apt-get install hadoop-0.20-conf-pseudo

Write Y, to continue

3. Starting Hadoop and Verifying it is Working Properly:
$ dpkg -L hadoop-0.20-conf-pseudo

To start Hadoop, proceed as follows.
Step 1: Format the Name-Node.
Before starting the Name-Node for the first time you must format the file system by following command.
$ sudo -u hdfs hdfs namenode -format

Step 2: Start HDFS by following command :
for x in `cd /etc/init.d ; ls hadoop-hdfs-*` ; do sudo service $x start ; done

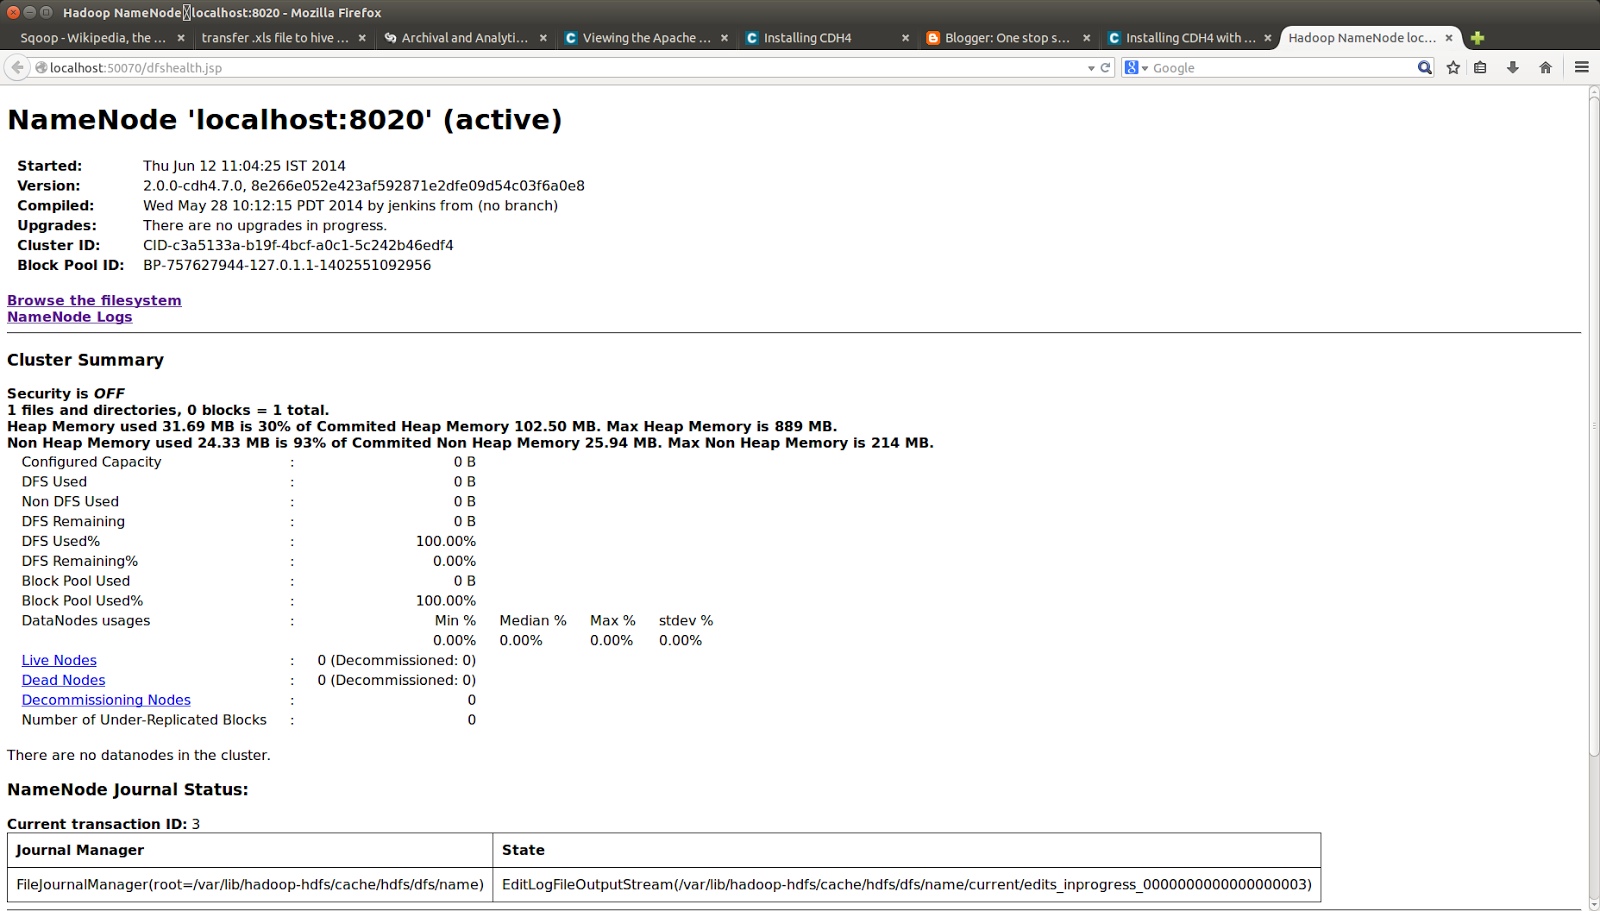
To verify services have started, you can check the web console. The Name-Node provides a web console http://localhost:50070/ for viewing your Distributed File System (DFS) capacity, number of Data-Nodes, and logs. In this pseudo-distributed configuration, you should see one live Data-Node named localhost.
Step 3: Create the /tmp Directory
Create the /temp directory and set permissions:
$ sudo -u hdfs hadoop fs -mkdir /temp

Change owner of the temp directory :
$ sudo -u hdfs hadoop fs -chmod -R 777 /temp

Step 4: Create the MapReduce system directories
sudo -u hdfs hadoop fs -mkdir -p /var/lib/hadoop-hdfs/cache/mapred/mapred/staging
sudo -u hdfs hadoop fs -chmod 777 /var/lib/hadoop-hdfs/cache/mapred/mapred/staging
sudo -u hdfs hadoop fs -chown -R mapred /var/lib/hadoop-hdfs/cache/mapred
Step 5: Verify the HDFS File Structure :
$ sudo -u hdfs hadoop fs -ls -R /

Step 6: Start MapReduce
for x in `cd /etc/init.d ; ls hadoop-0.20-mapreduce-*` ; do sudo service $x start ; done

To verify services have started, you can check the web console. The JobTracker provides a web console http://localhost:50030/ for viewing and running completed and failed jobs with logs.

Step 7: Create User Directories
Create a home directory for each MapReduce user. It is best to do this on the NameNode; for example:
$ sudo -u hdfs hadoop fs -mkdir /user/<user>
$ sudo -u hdfs hadoop fs -chown <user> /user/<user>
where <user> is the Linux username of each user.

|
1.
|
|
|
2.
|
|
|
3.
|
|
|
4.
|
|
|
5.
|
|
|
6.
|
|
|
7.
|


ConversionConversion EmoticonEmoticon